
It’s fall, y’all.

Time to get our autumn on. No PSL allowed, because they’ve simply gotten out of hand.

Although late spring will probably always be my favorite time of year, I’ve got a serious soft spot for fall. The air feels so good in your lungs, the sun is finally a welcome warmth instead of an oppressive heat, and then there’s that whole pretty trees thing. PLUS you get to carve pumpkins!!

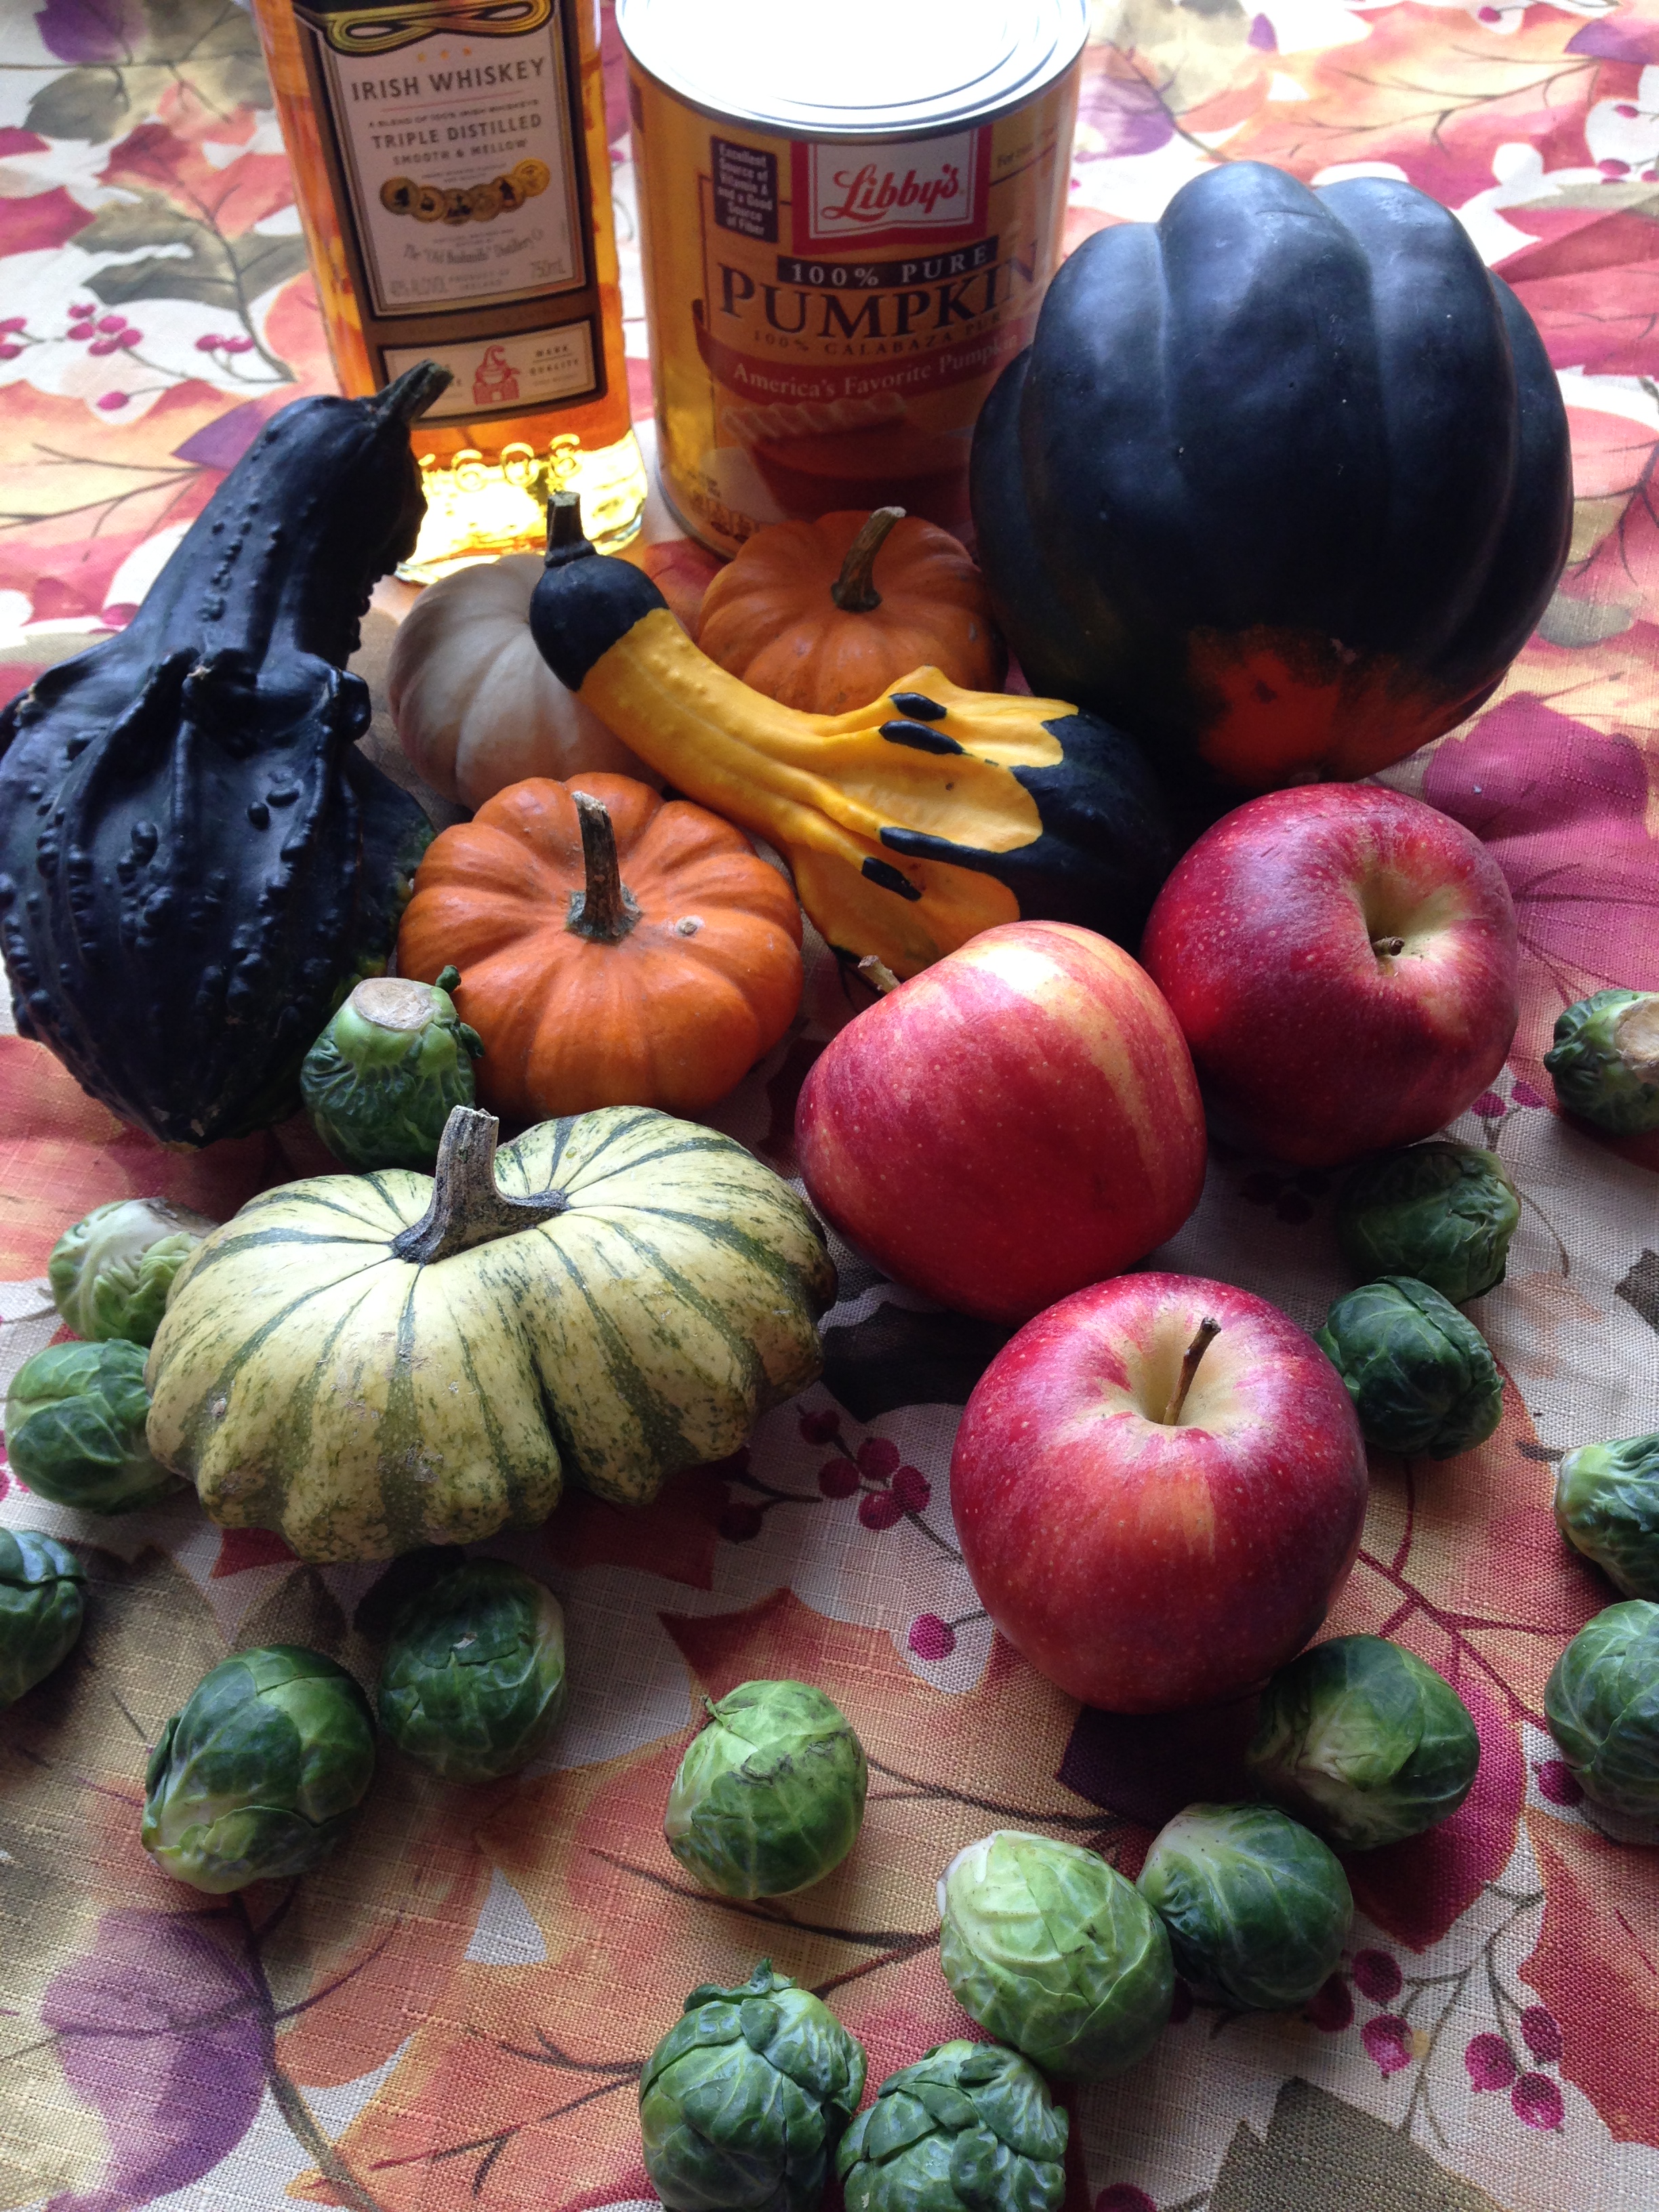
Today I’m going to share TWO things I did to prep for my pumpkin carving party (lucky you). While this is decidedly not a lifestyle blog, the first is technically not cooking. But since it involves a thing you CAN cook, I’m going to say it qualifies and talk about it anyway.

To make a super-twee pumpkin drink holder, all you have to do is carve the top of your favorite gourd and scoop out the seeds/guts (it goes without saying that you must reserve said seeds and toast them for a delicious snack. duh). Then fill with ice and a few of your favorite seasonal beers, and you’re good to go!
Now that we’ve covered booze for your party, let’s move on to the best part (well, second-best after the carving): gingersnap salted caramel pumpkin ice cream sandwiches. That’s right. Don’t hate the player, hate the game.
First, you’re gonna need to make some ice cream. No, you don’t need an ice cream maker. Just a little elbow grease! (Or a hand mixer.)
Pumpkin Ice Cream (adapted from Vanilla Bean Blog)
- 2 c. Heavy Cream (cold)
- 1 can (14 0z.) Sweetened Condensed Milk
- 3/4 c. Pumpkin Puree
- 2 T. Bourbon
- 1 T. Vanilla
- 1/2 t. Cinnamon
- 1/4 t. Ginger
- 1/8 t. Nutmeg
- 1/8 t. Cloves
Whip cream until stiff peaks form. Fold in remaining ingredients, and give it an extra minute or so of whipping to get a little more air in the mixture. Pour into a regular-sized loaf pan and freeze for at least 6 hours (cover if you plan to freeze it for more than a day).

So easy! Just like the salted caramel and the cookies are easy too. Nothing about these sandwiches is hard, it just takes a little time.
Salted Caramel
- 1 c. Sugar
- 6 T. Salted Butter, divided into 6 pieces
- 1/2 c. Heavy Cream
- 1 t. Salt
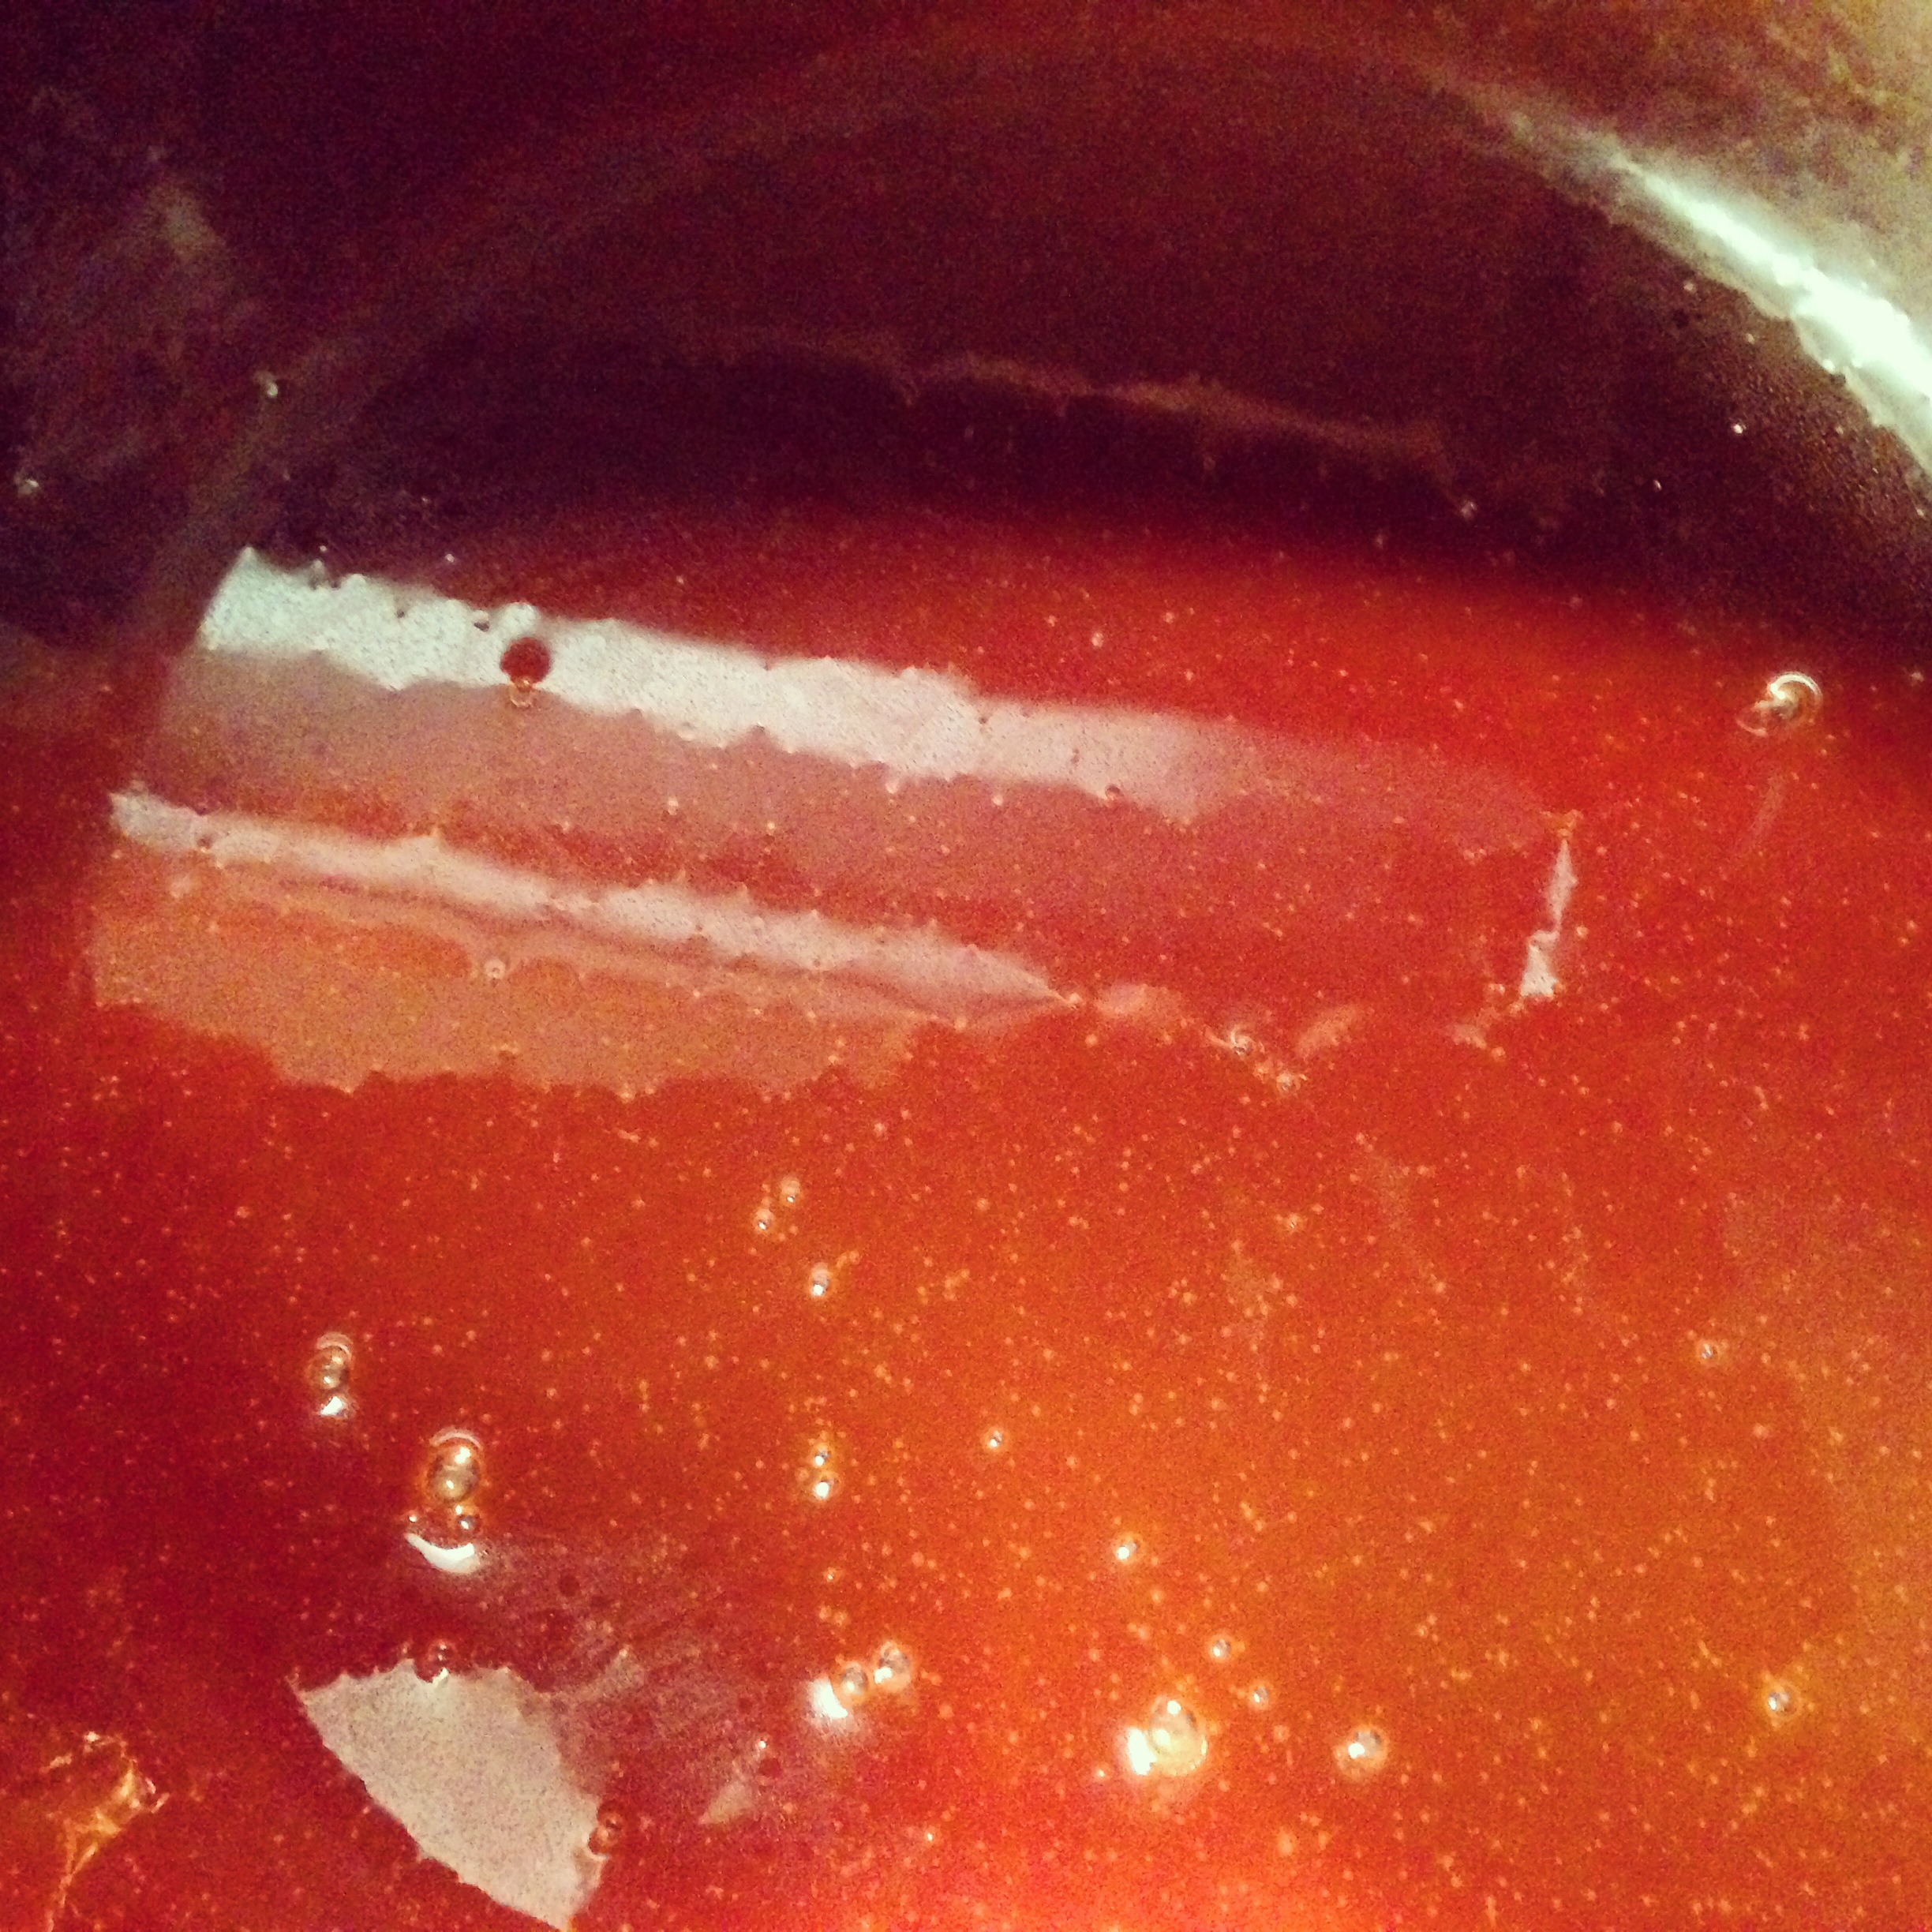
Heat sugar in medium saucepan over medium heat, stirring CONSTANTLY with a rubber spatula. That’s not optional. Eventually, after clumping and looking very unpromising, the sugar will melt into a nice amber liquid. As soon as this happens, add butter (carefully, because it will splatter and hurt) and stir until butter is completely melted. Slowlyyyyyy whisk in heavy cream (again, be careful), and allow to boil for about a minute. Remove from heat and stir in salt. Once cooled, store in an airtight container. You will want to either allow the caramel to come to room temp or heat it briefly in the microwave before you use it, as it will get less pliable in the fridge.
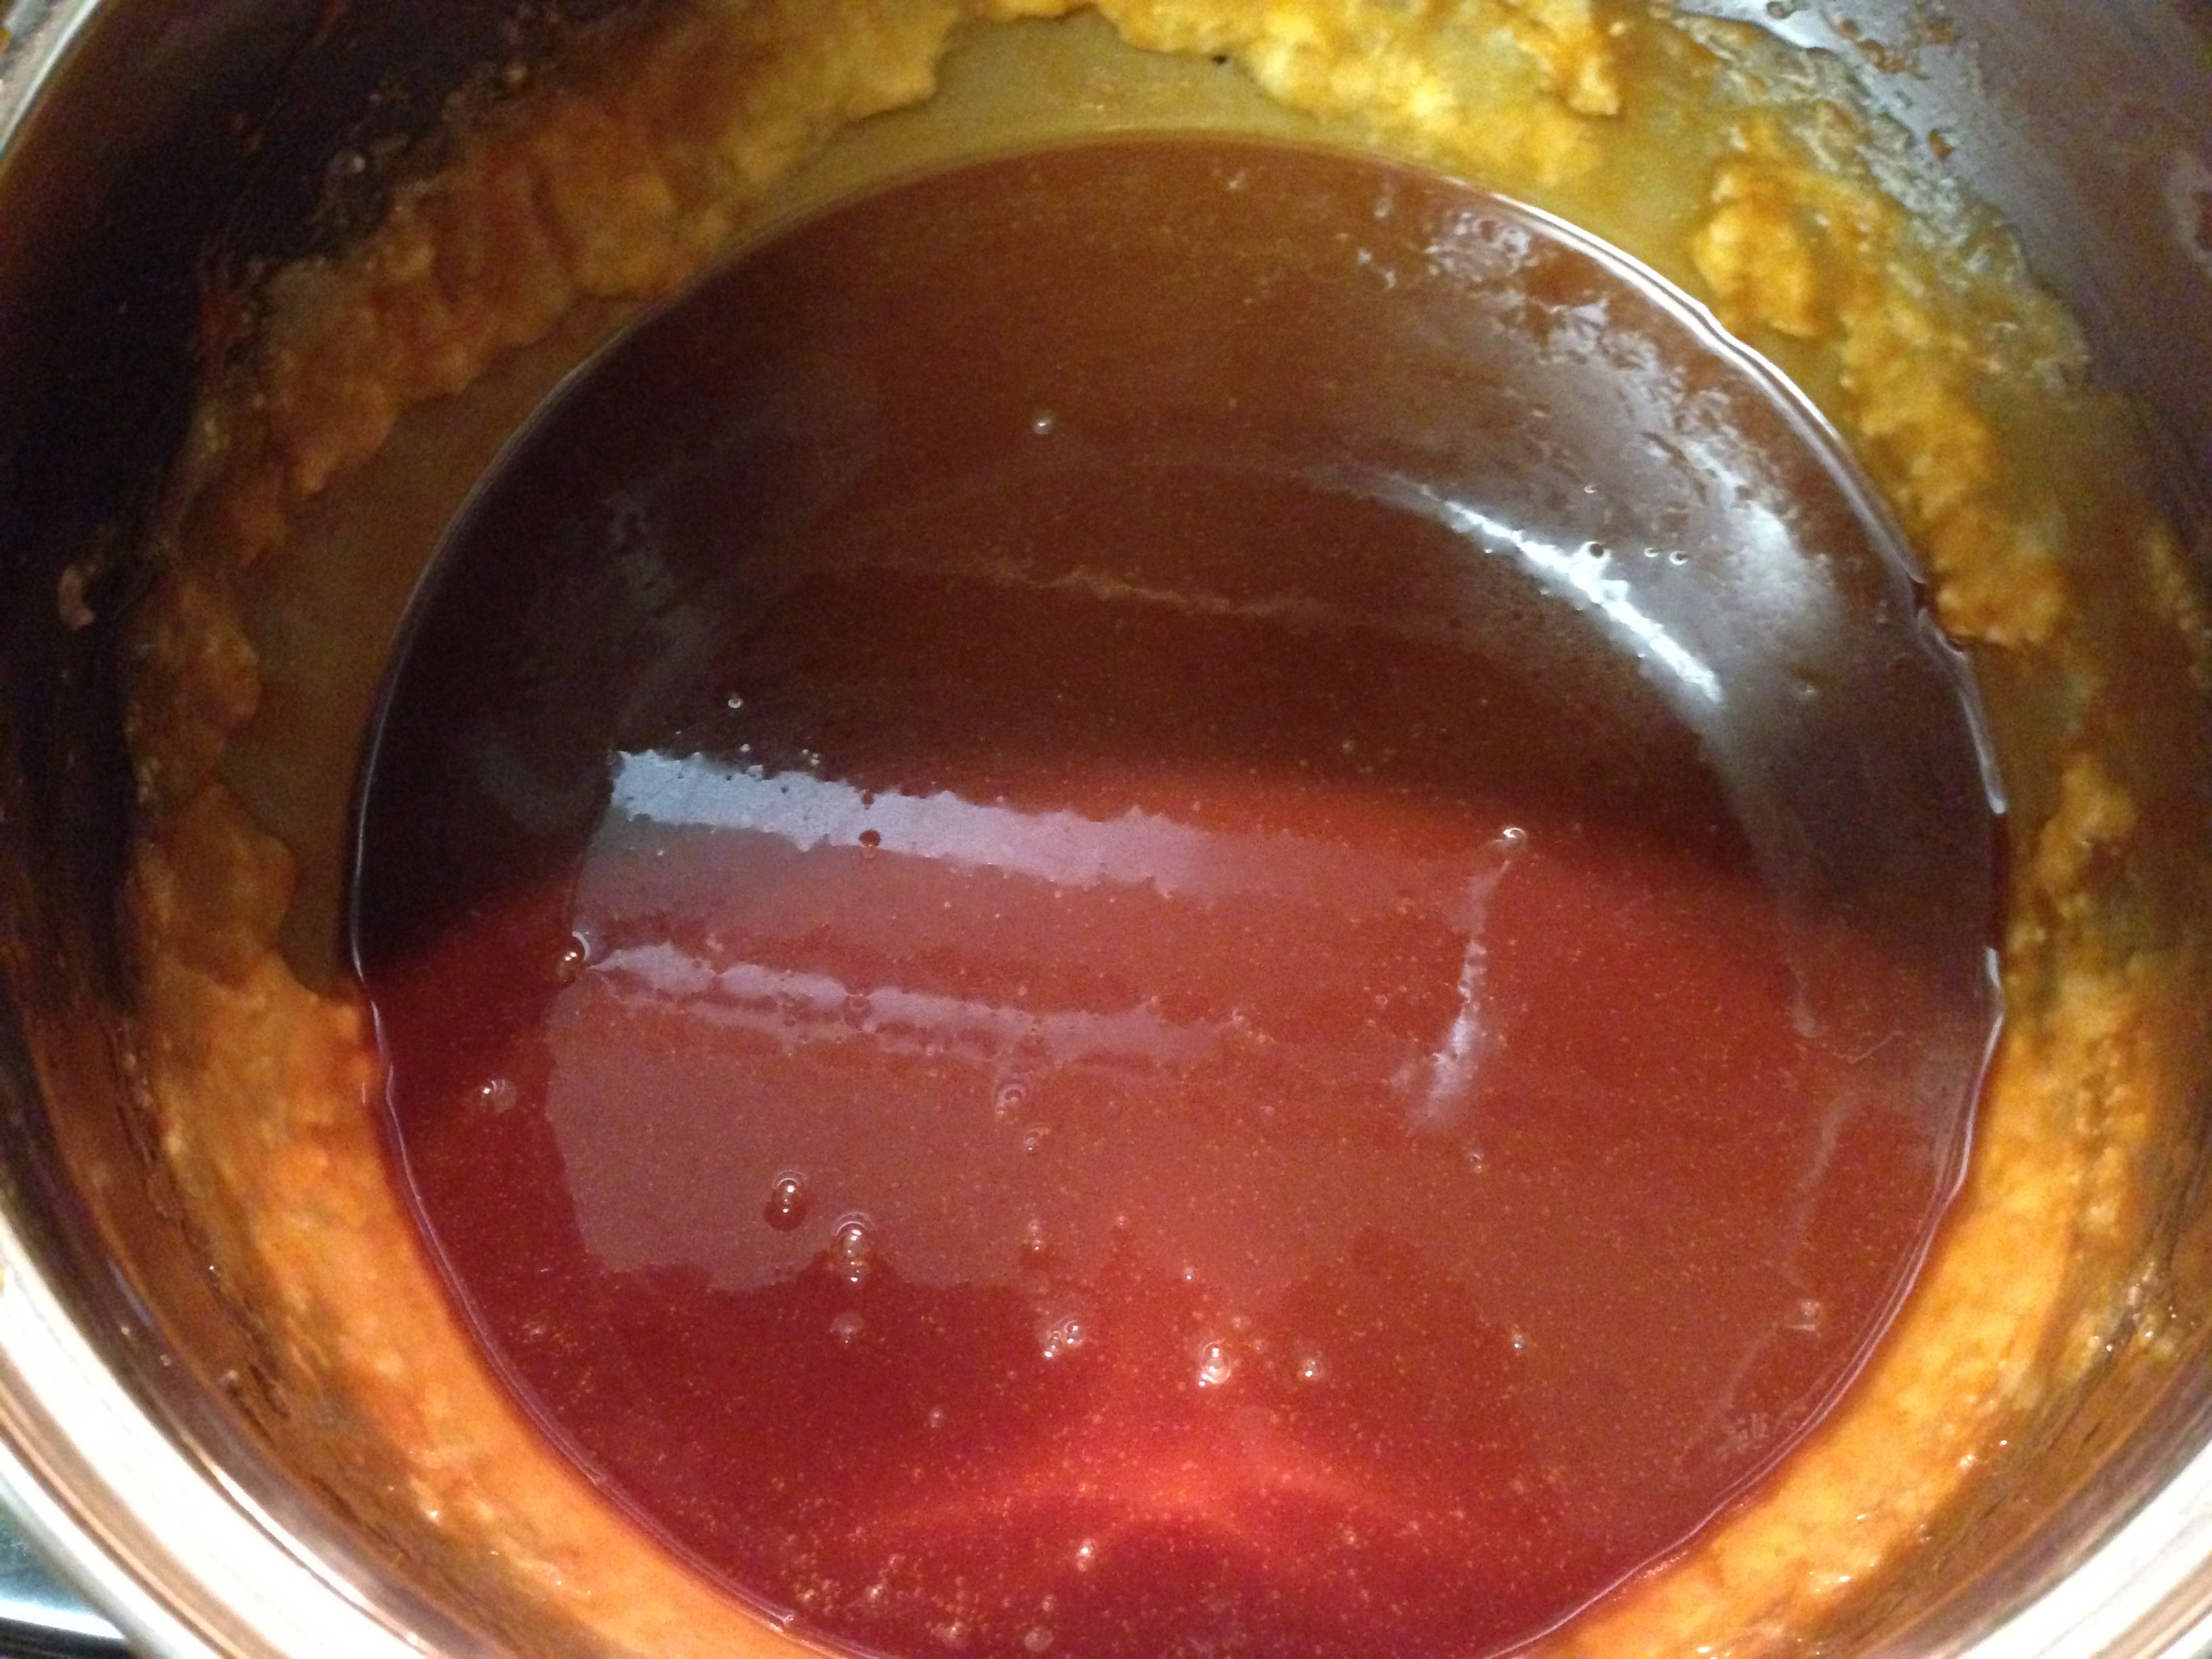
To remove the stubborn sugar ring around your saucepan, just fill it with water and heat it on the stove for a few minutes. The hot water will melt away the crust and you won’t even have to lift a finger. This tip comes in hand for basically anything stuck to a pot. WIN.
Gingersnaps
Use your favorite gingersnap recipe for the cookies. I went with this recipe from Brown Eyed Baker because it’s a nice soft cookie, which I thought would lend itself better to an ice cream sandwich than a harder gingersnap would (and I think I was right).

Assembly
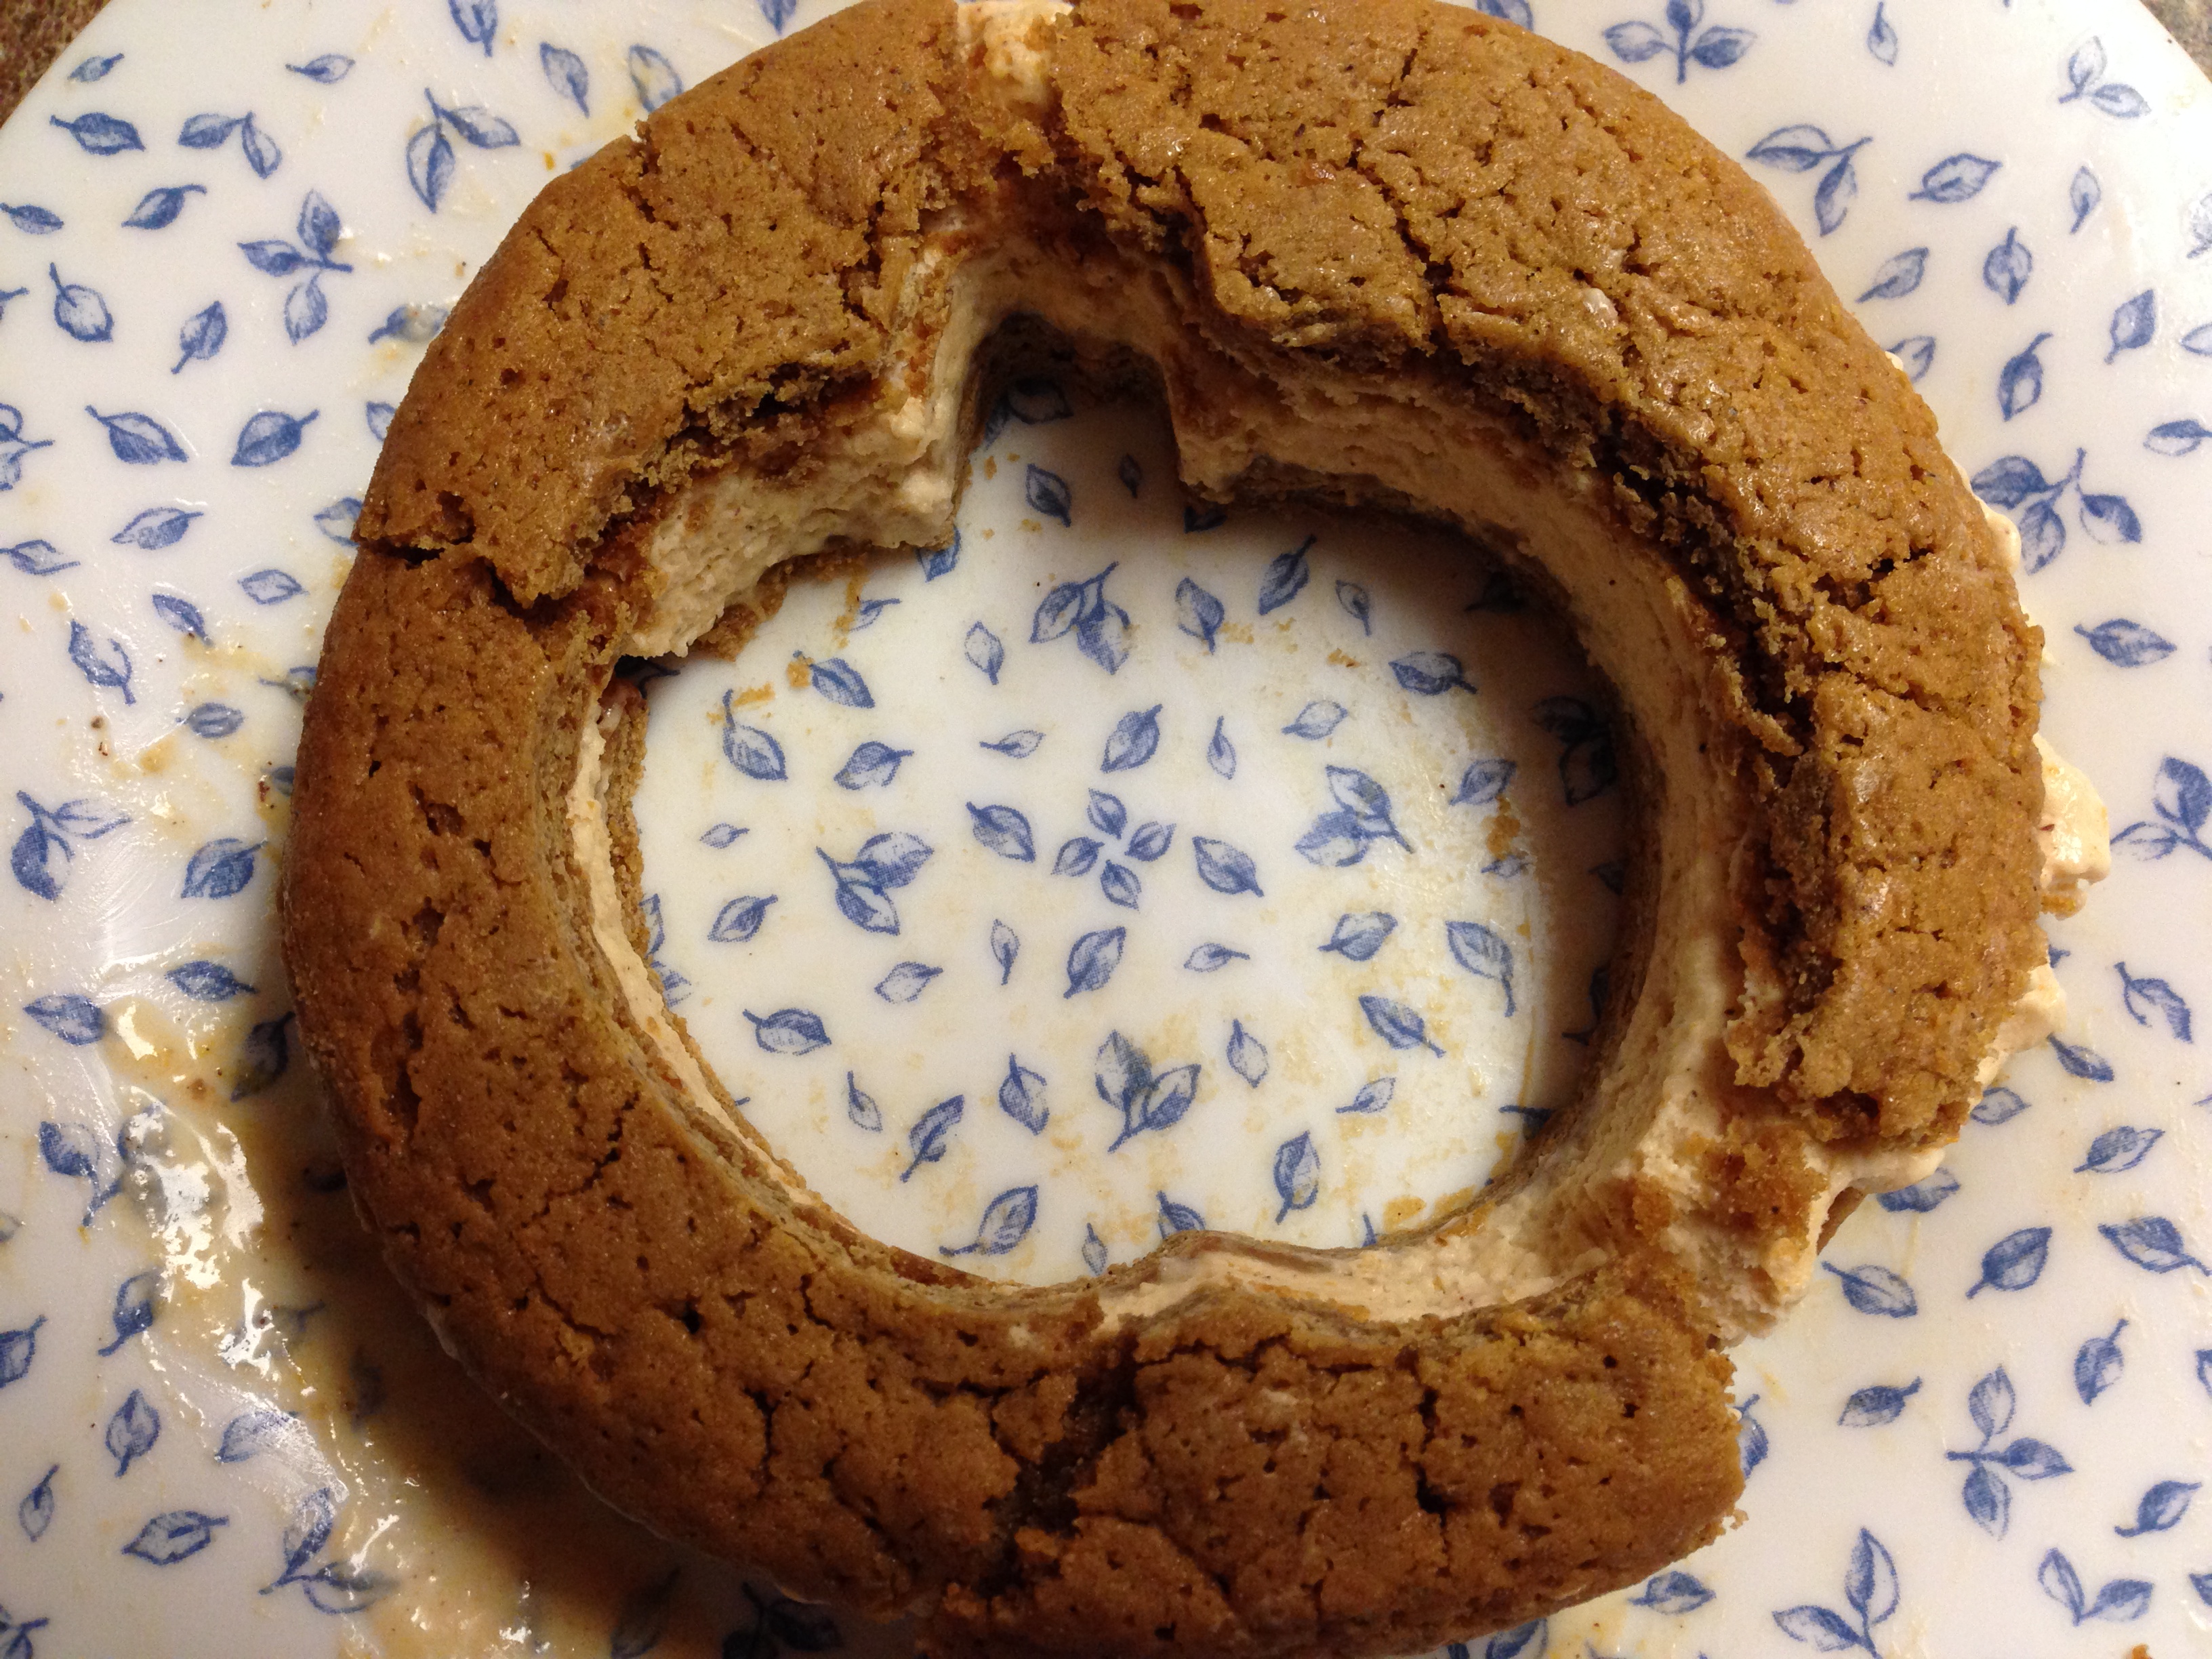
Once you’ve made your cookies, spread caramel on each one. Place a cookie sheet in the freezer, and while you’re in there, get your ice cream out– you want it soft enough to mold a little, but not too soft. Take it from the voice of experience, this can get messy RILL fast.

Spoon a decent layer of ice cream onto one cookie (see above), then top with another cookie and press down slightly. Place on cookie sheet in freezer. Repeat until you’ve used up all your cookies. Eat whatever’s left and don’t apologize for it.
You are now technically done. I took my first batch of ice cream sandwiches into work on Friday and they went over very, very well. (No quicker way to make your coworkers like you than to feed them yummy treats!) But I wanted to be extra cute/on-theme for my pumpkin carving party the next night, so I decided to put my pumpkin cookie cutter to good use.
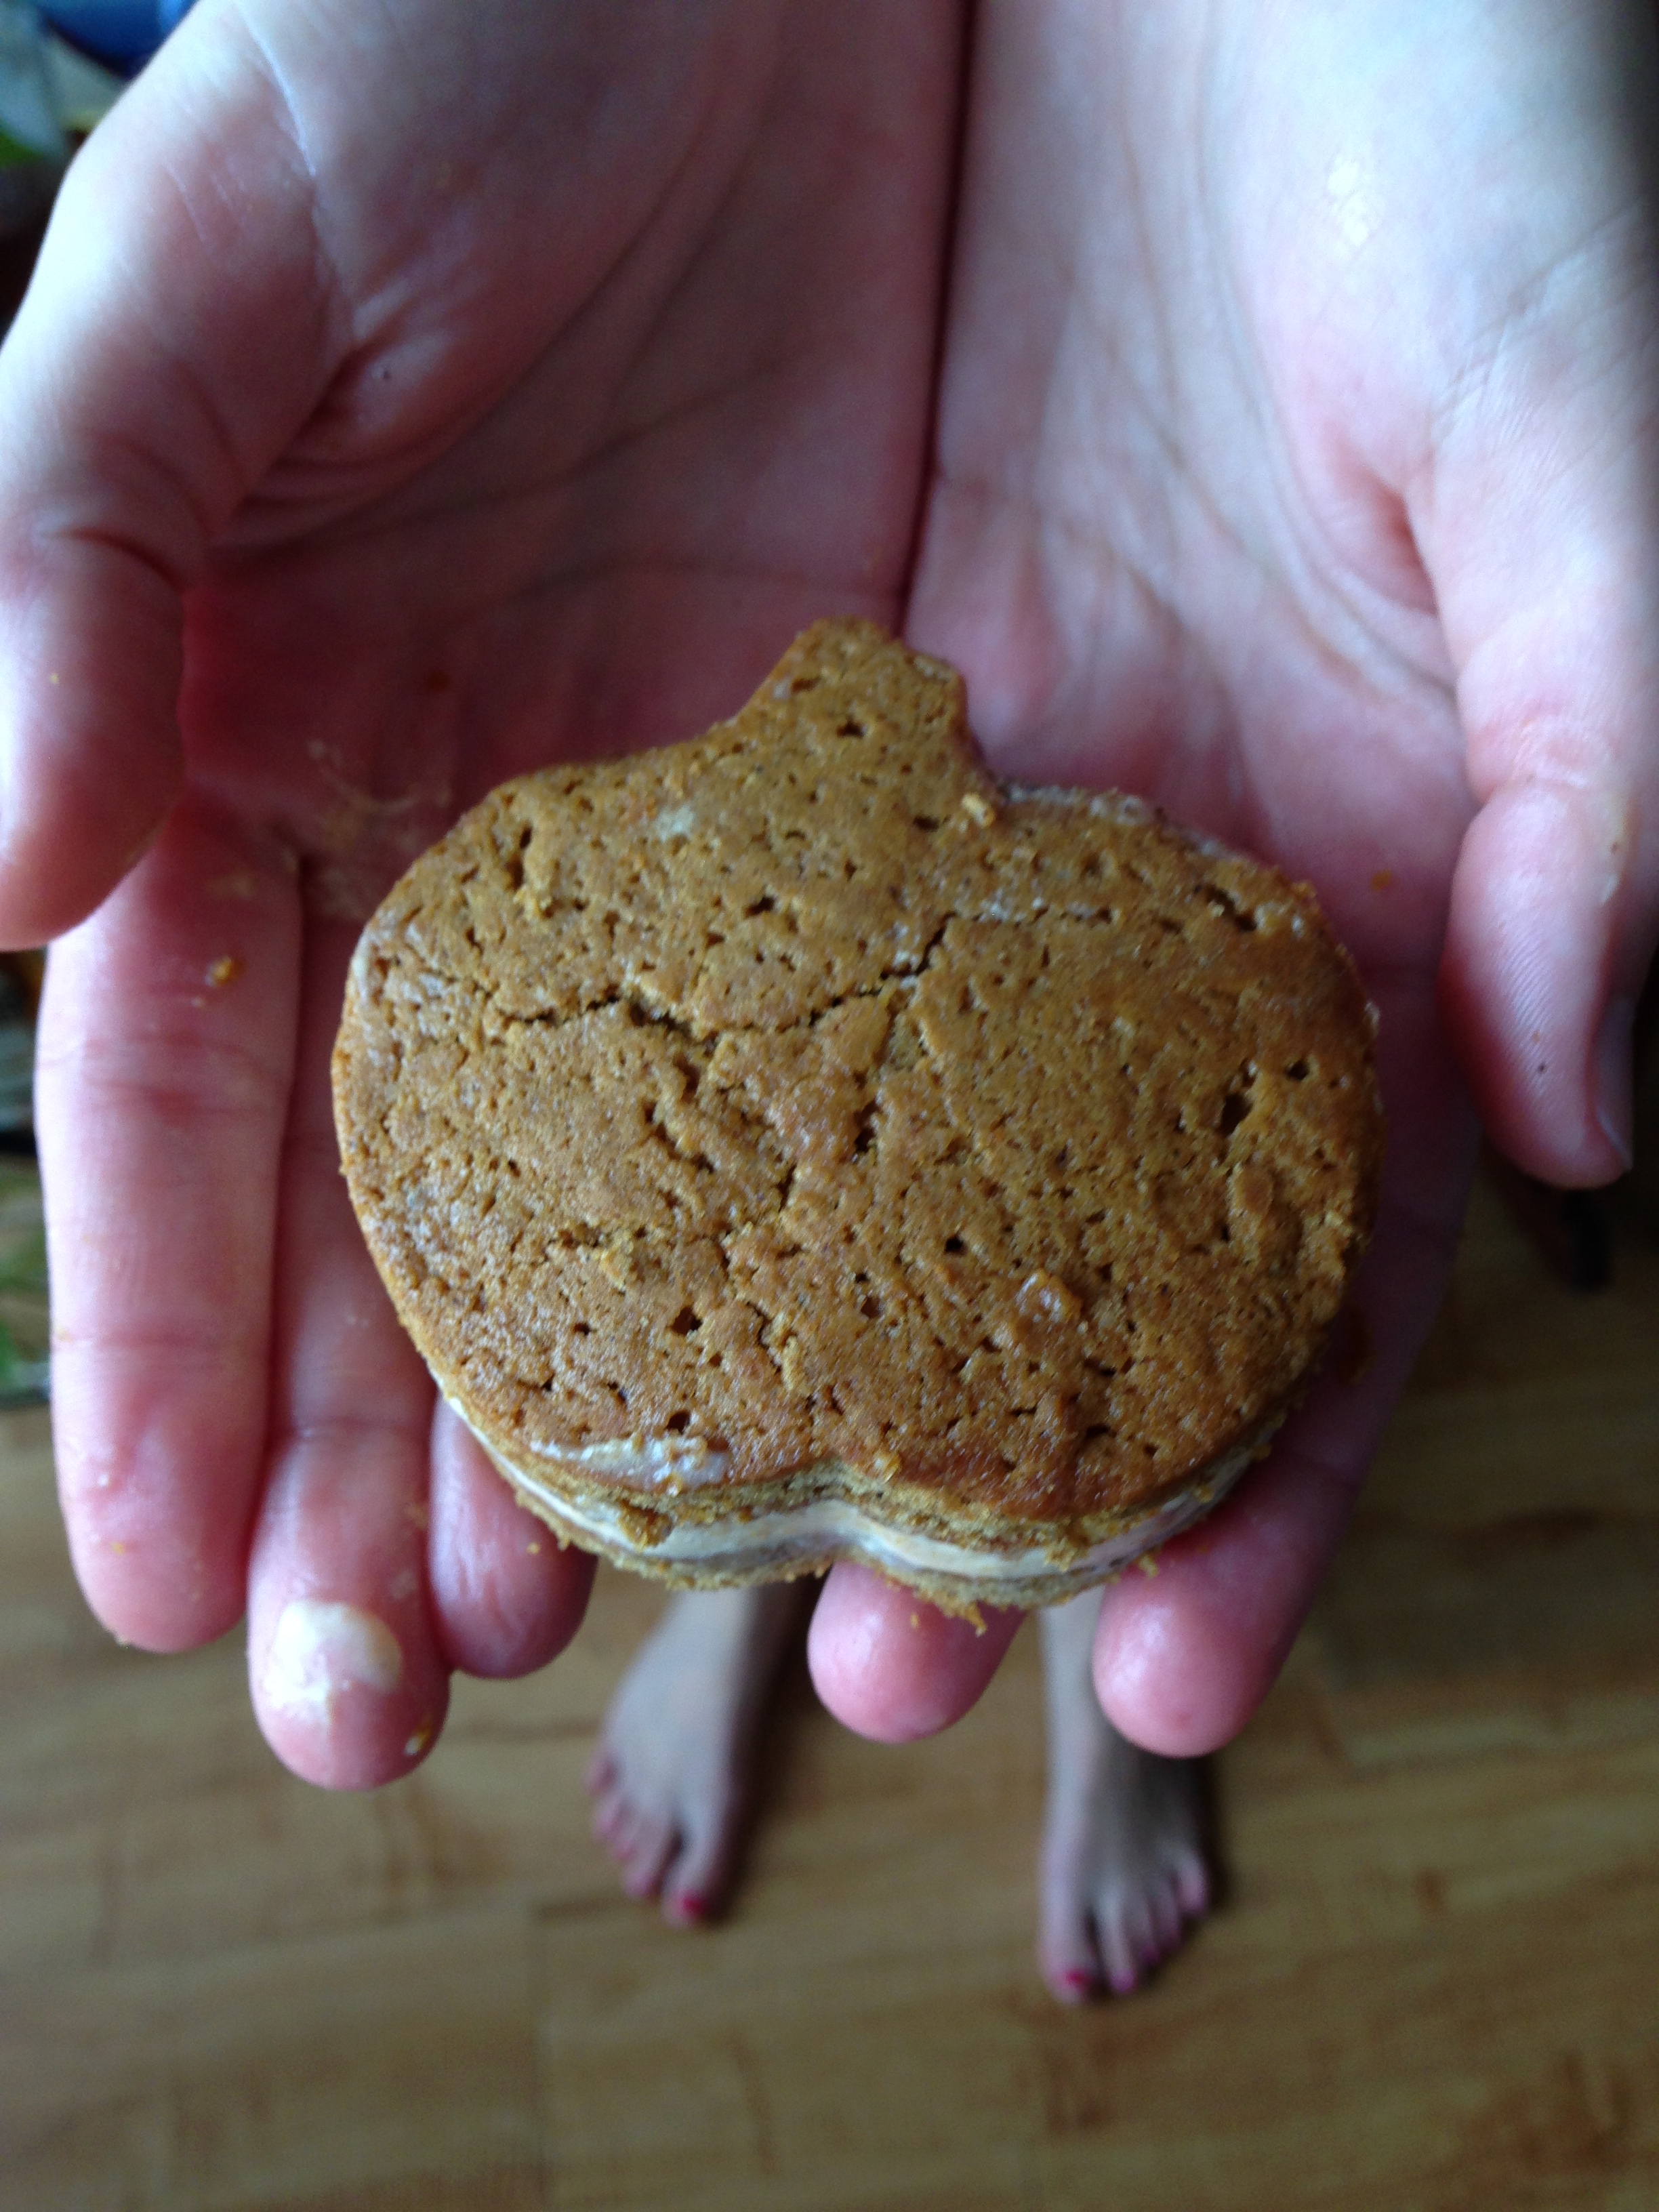
To make your sandwiches pumpkin-shaped (or any other shape you want), take them out of the freezer one at a time (again, you do NOT want things getting melty on you). Run your cookie cutter under hot water for a minute, and then put your guns to work pushing the cookie cutter through the sandwich. If you have an especially muscle-bound friend, this might be the time to invite them over to “hang out” (read: do your kitchen-related bidding). Keep the outer pieces in a bowl to give to your nice strong friend when you are done. Or eat them yourself. Hey, you worked hard on these bad boys too! I promise everyone will LOVE you for these. Or just make them for yourself and feel like a diabolical genius.

With weather like this, it’s a little hard to believe it’s fall, but between the pumpkin, the ginger, and the salted caramel (not to mention the twee twee TWEE pumpkin shape of these little guys), it will be pretty hard not to get into the autumnal spirit. Happy carving!
